

Create the Queue Unit
- Open Queue.
- Select Create Queue Unit.
- Enter a Queue name and unique Queue code.
- Select an existing Location or create a new physical Location.
- Create a dedicated Queue Channel or attach an available Queue Channel.
- Save the Queue Unit.
Add Categories
- Open the Queue Unit and select Categories.
- Select Add Category.
- Enter the service name, internal code, ticket prefix, and display color.
- Save the Category.
Add Counters
- Select Counters → Add Counter.
- Enter the customer-facing Destination label.
- Enter a unique internal Counter number.
- Select at least one service Category.
- Save the Counter.
Assign Operators
- Select Operators → Assign Operator.
- Choose an existing workspace member or invite an Operator by email.
- Assign one or more Counters.
- Review the Categories served by each Counter.
Add a Queue Display
- Prepare a Queue Design, add it to its dedicated one-item Queue Playlist, and make the Queue Channel deployable.
- Select Displays → Add Queue Display.
- Select an existing Screen or choose Pair a new Screen here.
- For a new Screen, choose Cloud and enter its six-digit code, or choose Edge and select the active branch Edge.
- Select the Queue Channel.
-
Choose its audio role:
- Audio master plays the chime and spoken call for the Queue Unit.
- Silent companion display updates visually without announcing.
- Configure language, voice, speed, chime, volume, announcement template, unlock PIN, resolution, and content fit.
- Save the Display.
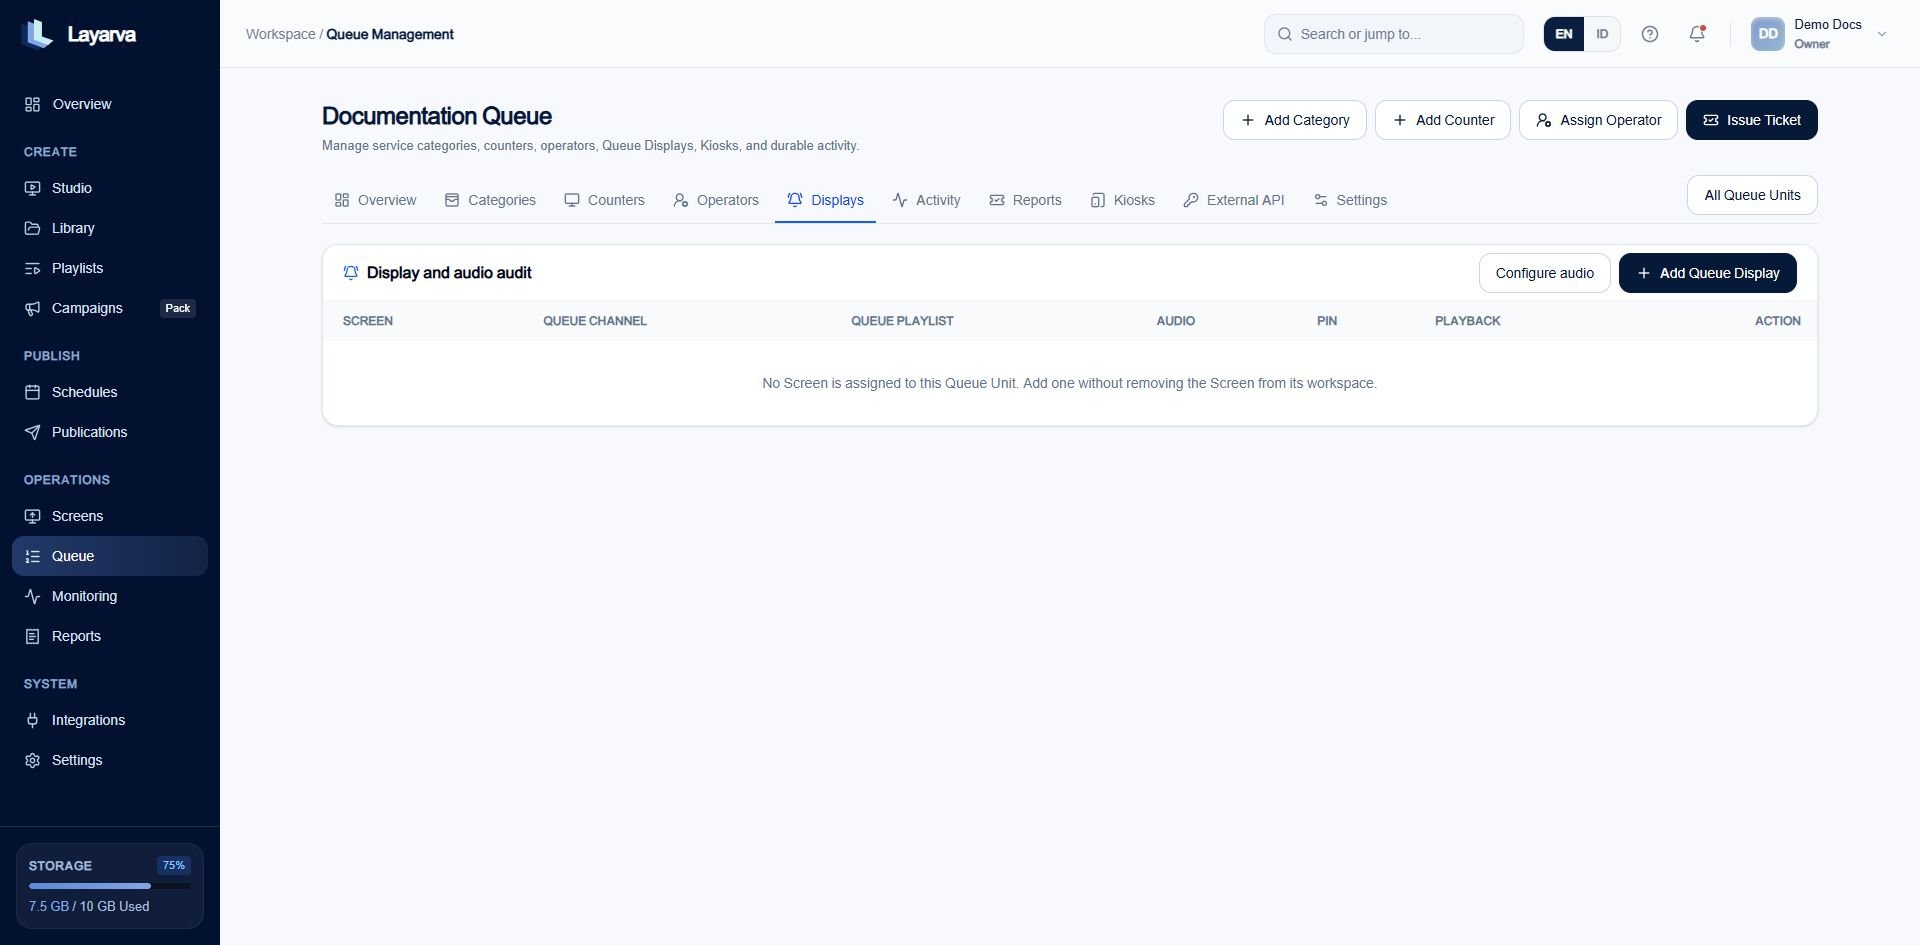
The Displays tab binds Screens to the Queue Unit and keeps playback and audio roles visible in one place.
Configure operating rules
Open Settings → Operating rules and configure: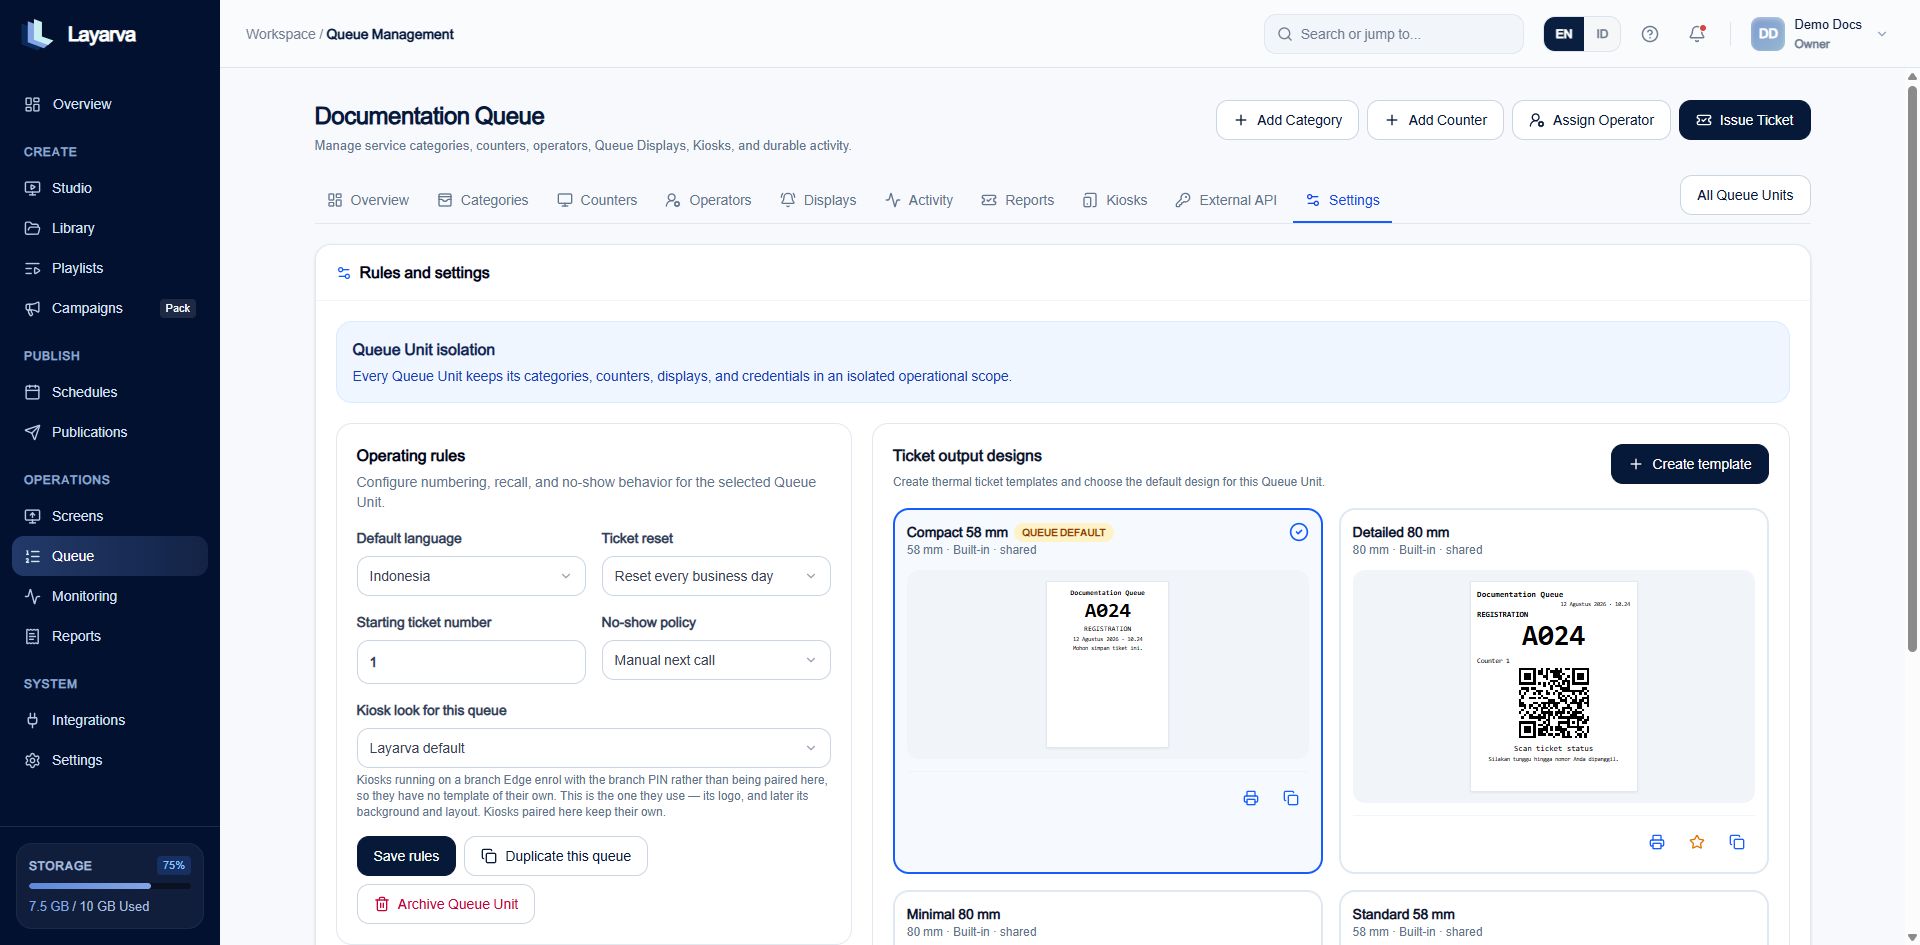
Queue Unit Settings controls numbering, no-show behavior, Edge Kiosk appearance, and the default ticket design.
Verify the operation
- Select Issue Ticket and create a test ticket for one Category.
- Open the Operator Console and call it from a compatible Counter.
- Confirm the number and Counter label appear on every Queue Display.
- Confirm only the audio master announces it.
- Complete or mark the ticket no-show.
- Verify the event under Activity and Reports.